Wednesday, August 13, 2014

Modern Mosaic Poinsettia

Wow, is it Wednesday already?  I can't believe how fast this summer is flying by.  The Holiday Catalog goes live very soon, and I have finalized my order and should be getting it soon so that I can start sharing some of the new product.  Looking at all the new holiday product made me want to do something holiday themed.  Yes I know it is only August, and I promise to keep the holiday posts to a minimum until we get closer, but it is never really too early to get started on holiday cards.  So for today's card, I was inspired to try and use what I have since I don't have my new stuff yet.

Poinsettia made with Stampin'Up! Mosaic Punch
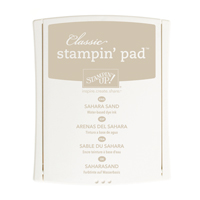
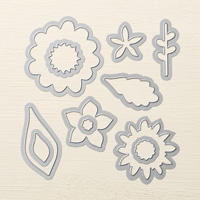
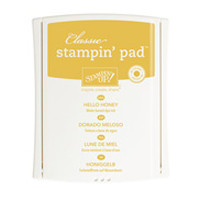
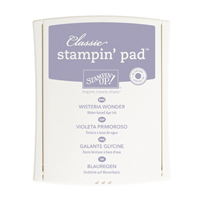
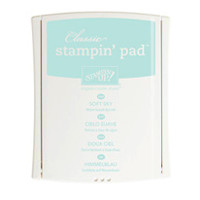
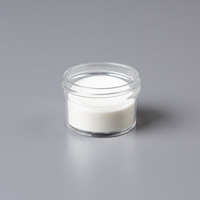
What do you think?  I love this!  I had come across a flower on Pintrest using the Mosaic Punch and I thought in a different color it would look a lot like a poinsettia flower.  I used Blackberry Bliss cardstock (which is one of my most favorite colors) for the flower petals and Mossy Meadow for the leaves.  I wanted to add a little sparkle to the flower and used my versamark and rubbed it on the edges of the flower, then added the Iridescent Ice embossing powder.  Gave the petals a little pinch to make them more dimensional.  To make the leaves, I used the largest leaf from the flower fair framelits, folded them in half and ran them through my woodgrain embossing folder.  To make them pop a little, I sponged on some of the Mossy Meadow ink.  I didn't want to take away from the flower, but felt the Whisper White card base need something, so I stamped the snowflakes and sentiment from the Endless Wishes set.  The snowflakes are stamped in Sahara Sand with a touch of dazzling details on top to give them a little sparkle, and the sentiment was stamped in Early Espresso.  The inside sentiment says Christmas Cheer which is also stamped in Early Espresso.  I am really happy with how this turned out and think I will do a set with different color poinsettia's.  This would be such an easy card to mass produce.  Hope this inspires you to start creating something from your current stash of supplies.  All of these supplies with the exception of the Endless Wishes Stamp set are currently available for purchase, you can click on any of the links below and it will take you to my store.

Until next time....

Cindy


Thursday, August 7, 2014

Another Flower Patch Birthday Card

Ok, I think I am obsessed with this stamp set so much so, I actually had a dream last night about ways I could use it on things other than cards.  So unfortunately, or fortunately if you love this set as much as me, there will be additional posts using this set and matching framelits, but I will try to space them out a bit.  I have decided to enter this card in the Stampin'UP! Only card challenge.  The challenge is to show off any of your "new toys" and to use ONLY STAMPIN'UP! product of course.  You can check out my submission as well as others by clicking on this link SUO Challenge 102.  Now onto the details:


I stared with a standard A2 sized Card from Whisper White.  On another piece of whisper white, I stamped the flowers in So Saffron and Pink Pirouette and then the centers with Calypso Coral and Blushing Bride and leaves were stamped in Pear Pizzaz.  Flowers were then die cut with coordinating frame lits and the leaves were fussy cut.  Using the Labels collections framelits, I die cut the 3rd largest label from Blushing Bride cardstock and layered it with a whisper white Blossom Punch.  I inked up all the edges with Blushing bride to help make the images pop on the card a little.  For assembly, I took a 2'' piece of Lullaby DSP, then the label and blossom punch secured with snail and added a strip of crumbcake seam binding before attaching to the card base.  Once attached, I started adding my die cut flowers and leaves using glue dots and dimensionals.  I added a bow, some basic pearls and a bitty butterfly and viola!  Although you can't see it, I stamped the Happy Birthday greeting on the inside using the Peace, Love and Cupcakes stamp set.

All the supplies used are listed below.  Thanks for stopping by and hope to see you again.

Cindy


Wednesday, August 6, 2014

Flower Patch Birthday Card

Happy Bloomin Wednesday!

Today's card features probably one of my most favorite stamp sets, Flower Patch by Stampin' Up!  The Flower Patch flowers cut out using the matching flower fair framelits take center stage in this Blooming Birthday Card.  I know this has been done already as I have seen many examples on Pintrest, but I used the Hardwood background stamp to create slats on a fence and wanted the flowers to be peeking through like it would through a fence.  When I was growing up, we had a fence like this and the neighbor's roses always grew through the sides of the open slats in the fence. It was always so pretty.

Flower Patch by Stampin' Up!

Details:

Stamped the hardwood background onto a piece of Soft Suede cardstock and then clear embossed it and cut into strips for the fence. On Whisper White cardstock I stamped the images from the Flower Patch stamp set then cut out with coordinating framelits.  On another piece of Whisper White cut at 4 1/4 x 5 1/4, I sponged Pistachio pudding on to the bottom 3/4th of the card and then sponged Soft Sky onto the top.  I stamped the birthday greeting at the top slightly to the left in Tuxedo Black Memento Ink and then attached the various pieces using Snail and dimensionals.  For a finishing touch, I punched out a bitty butterfly from Blackberry bliss cardstock and added several rhinestones for a little sparkle.  The whole piece was then put onto a Blackberry Bliss Card base cut at 5 1/2 x 8 1/2, scored at 4 1/4 using dimensionals.  All the supplies used are linked below.

Until next time...have a great day!

Cindy


Wednesday, July 30, 2014

Almost August...WHAT?

Wow, it has been 6 months since I posted anything.  Even sadder, it has been that long since I have actually created anything.  Do you ever have those times where you just don't want to do anything?  I can't believe that it has been 6 months.  Although I have all of my supplies currently living in my dining room (I do actually have my own craft room in the basement, just not convenient with the kids and puppy), I walk by and quickly go the other direction to avoid it.  I was so excited when the new Stampin'Up! catalog came out and placed my order, and now the box is sitting in the middle of my dinning room table watching me.  I  know I just need to dive in, but when I sit down, I feel overwhelmed. So I have been watching a lot of YouTube videos and checking out plenty of blogs for inspiration and have decided I have slacked off enough.  So starting next week, I am going to attempt my first video (not sure if it will get posted, but I will film a video), and post at least 2 projects a week.  I have some ideas for upcoming series, but I need to do some more planning and organization before I can commit to those.  We also have the Holiday Catalog coming out soon and would love to share some fun holiday projects as well. So I hope you will stay tuned and join me on this journey.  I think it will be fun and am looking forward to challenging myself.

Until next time!

Cindy